How To Install A Whirlybird On Tile Roof

How To Install A Whirlybird On A Metal Roof Youtube

How To Install A Roof Whirlybird
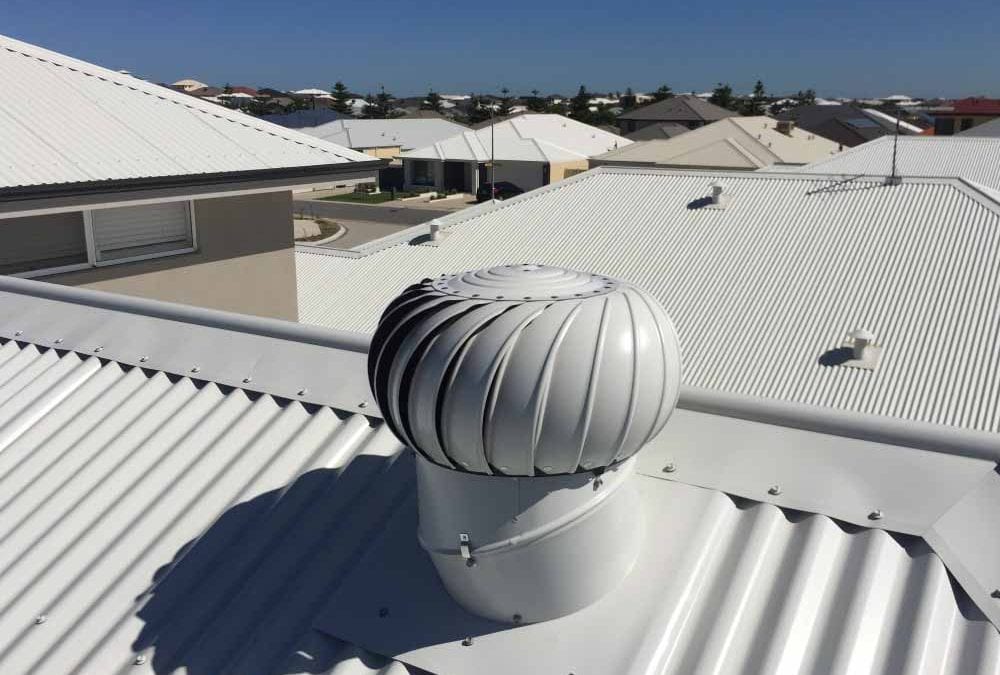
How To Install A Whirlybird Like A Pro Roof Ventilation Whirlybirds Australia

How To Install A Whirlybird The Easy Quick Diy Guide

How To Install A Whirlybird Roof Vent Diy Youtube
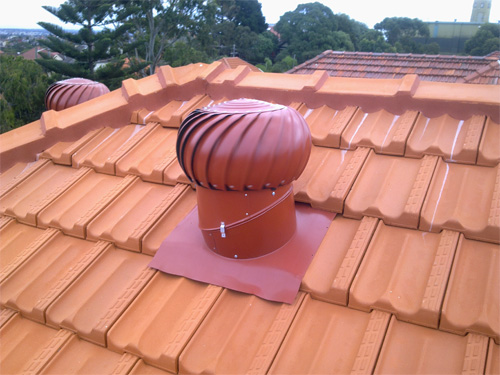
How To Install A Whirlybird On Tile Roof The Expert

How to install a whirlybird diy guide step 1 preparing for installation.
How to install a whirlybird on tile roof.

Elevateroofplumbing On Instagram Whirly Bird And Roof Installation In Warrnambool Check Out The Screw Lines Fro Roof Installation Roof Colors Colorbond Roof

Pin By Tony Thorne On Re Roofing Projects Sydney By Apt Roofing Roof Styles Metal Roof Roof Cost

Supavent Diy Installation On A Tiled Roof Youtube

The Whirlybird Ventilators Work A 24 Hour Shift But No Toxic Gases Or Chemicals Are Emitted As By Products W Attic Ventilation Ventilation System Ventilation
Source : pinterest.com
